
Posted on September 5th, 2008
Introduction
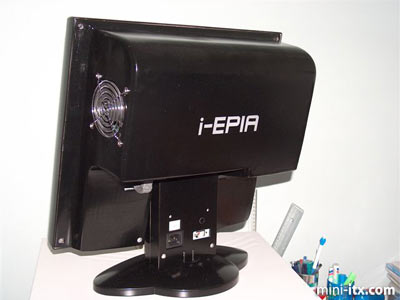
I was always charmed by the VIA EPIA Mini-ITX boards, so when I came across one on eBay I just couldn't resist. It was an impulse buy. When I got it I didn't really have a use for it. Then my internet provider upgraded my bandwidth and so I needed a second PC for light surfing and downloading. I wanted something small and energy efficient, so the EPIA board came back into favour. Energy efficiency was going to be easy, that's what these boards are designed for. The board is small and would require a little modding (always fun).
My brother in law has an iMac and darn do these look beautiful. This was my inspiration. I considering modding a CRT monitor to hold the PC, but it would have been too big and clumsy. Considering the room you have in a CRT it didn't seem to much of a challenge either.
My search for a 15in LCD monitor began. You can't believe how much people want for them on eBay. Fortunately I stumbled on a seller who was selling 2 monitors, nobody else was interested so I got them cheap.
My initial components were:
- Via EPIA M10000 board (C3 1GHz CPU)
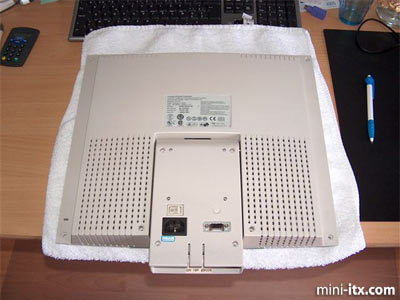
- Compaq TFT5000S monitor
- 80W Pico-PSU
- 40 GB 2.5in 4200RPM hard drive (from my laptop after an upgrade)
- Sitecom WL-113 USB Wi-Fi dongle
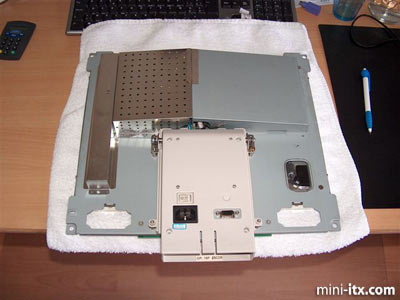
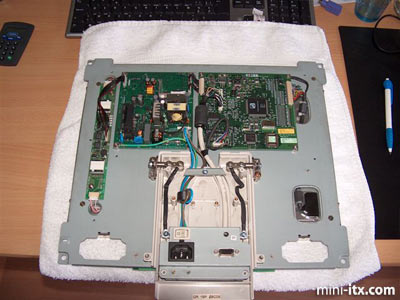
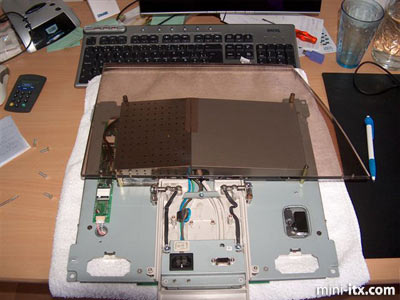
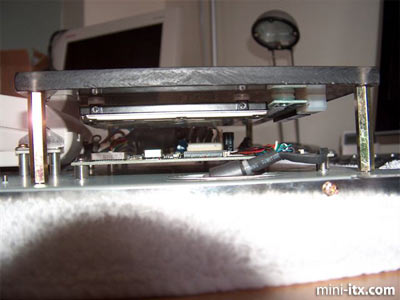
I started to take apart the screen:
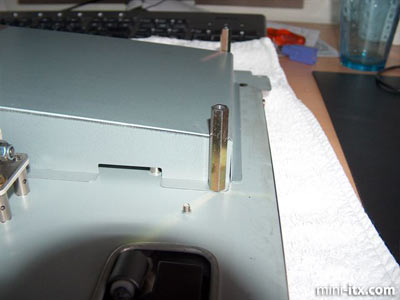
Then I mounted some long standoffs.
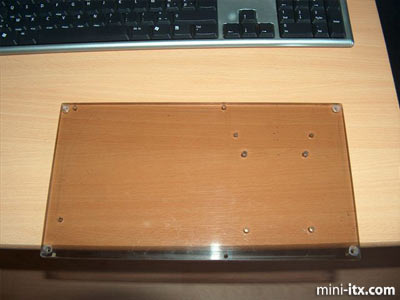
I sourced a piece of thick plexiglass that would function as the motherboard plate.
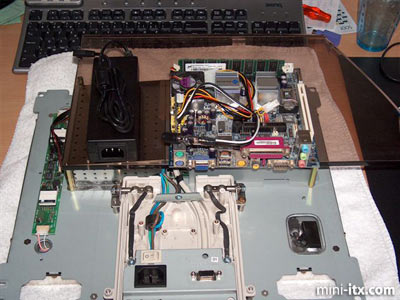
Figuring out how and where to place what..
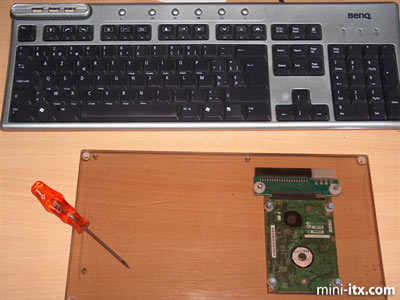
The motherboard plate cut, drilled and tapped.
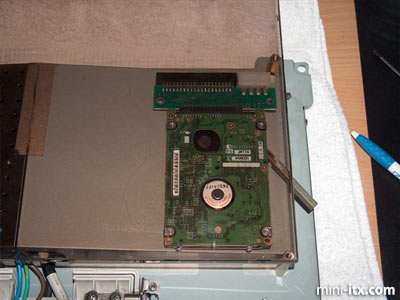
Mounting the hard drive
 |
 |
 |
Quick Links
Mailing Lists:
Mini-ITX Store
Projects:
Show Random
Accordion-ITX
Aircraft Carrier
Ambulator 1
AMD Case
Ammo Box
Ammo Tux
AmmoLAN
amPC
Animal SNES
Atari 800 ITX
Attache Server
Aunt Hagar's Mini-ITX
Bantam PC
BBC ITX B
Bender PC
Biscuit Tin PC
Blue Plate
BlueBox
BMW PC
Borg Appliance
Briefcase PC
Bubbacomp
C1541 Disk Drive
C64 @ 933MHz
CardboardCube
CAUV 2008
CBM ITX-64
Coelacanth-PC
Cool Cube
Deco Box
Devilcat
DOS Head Unit
Dreamcast PC
E.T.PC
Eden VAX
EdenStation IPX
Encyclomedia
Falcon-ITX
Florian
Frame
FS-RouterSwitch
G4 Cube PC
GasCan PC
Gingerbread
Gramaphone-ITX-HD
GTA-PC
Guitar PC
Guitar Workstation
Gumball PC
Hirschmann
HTPC
HTPC2
Humidor 64
Humidor CL
Humidor II
Humidor M
Humidor PC
Humidor V
I.C.E. Unit
i64XBOX
i-EPIA
iGrill
ITX Helmet
ITX TV
ITX-Laptop
Jeannie
Jukebox ITX
KiSA 444
K'nex ITX
Leela PC
Lego 0933 PC
Legobox
Log Cabin PC
Lunchbox PC
Mac-ITX
Manga Doll
Mantle Radio
Mediabox
Mega-ITX
Micro TV
Mini Falcon
Mini Mesh Box
Mini-Cluster
Mobile-BlackBox
Moo Cow Moo
Mr OMNI
NAS4Free
NESPC
OpenELEC
Osh Kosh
Pet ITX
Pictureframe PC
Playstation 2 PC
Playstation PC
Project NFF
PSU PC
Quiet Cubid
R2D2PC
Racing The Light
RadioSphere
Restomod TV
Robotica 2003
Rundfunker
SaturnPC
S-CUBE
SEGA-ITX
SpaceCase
SpacePanel
Spartan Bluebird
Spider Case
Supra-Server
Teddybear
Telefunken 2003
TERA-ITX
The Clock
ToAsTOr
Tortoise Beetle
Tux Server
Underwood No.5
Waffle Iron PC
Windows XP Box
Wraith SE/30
XBMC-ION